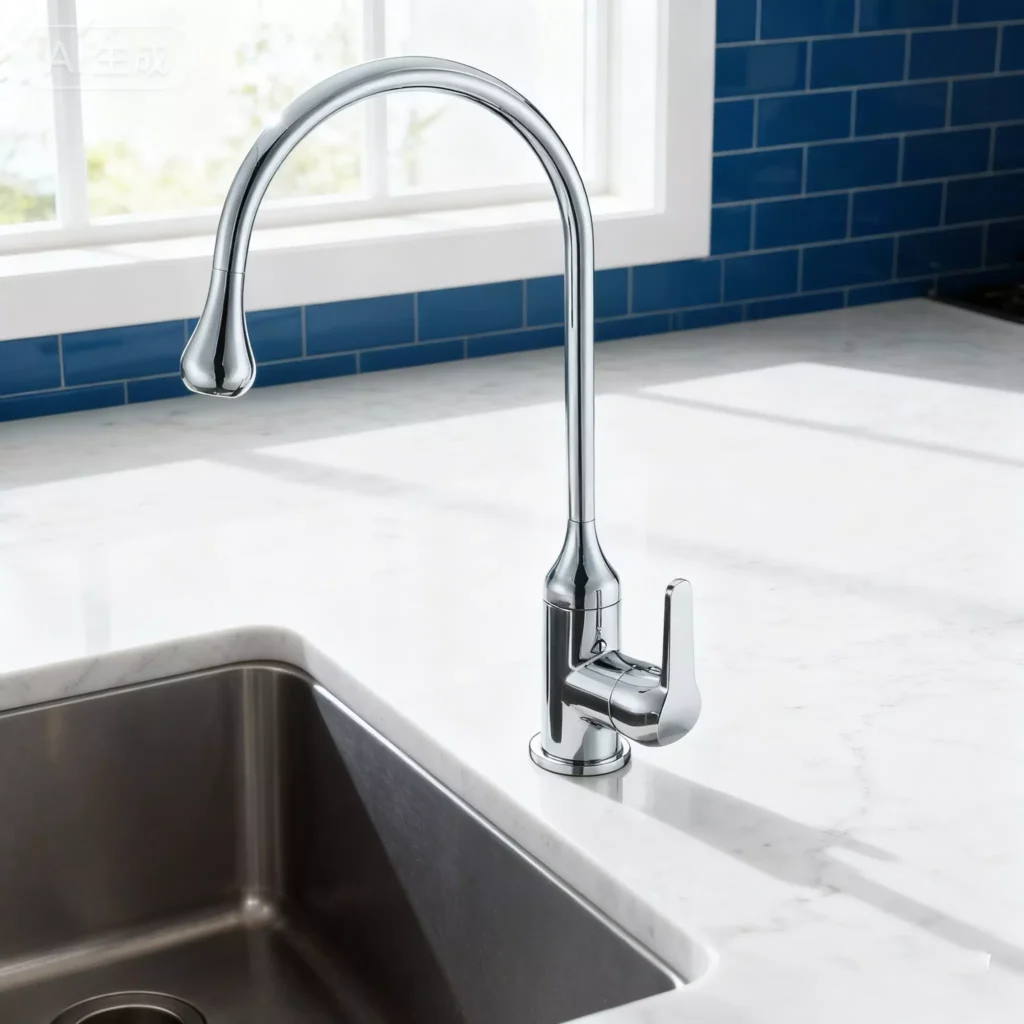
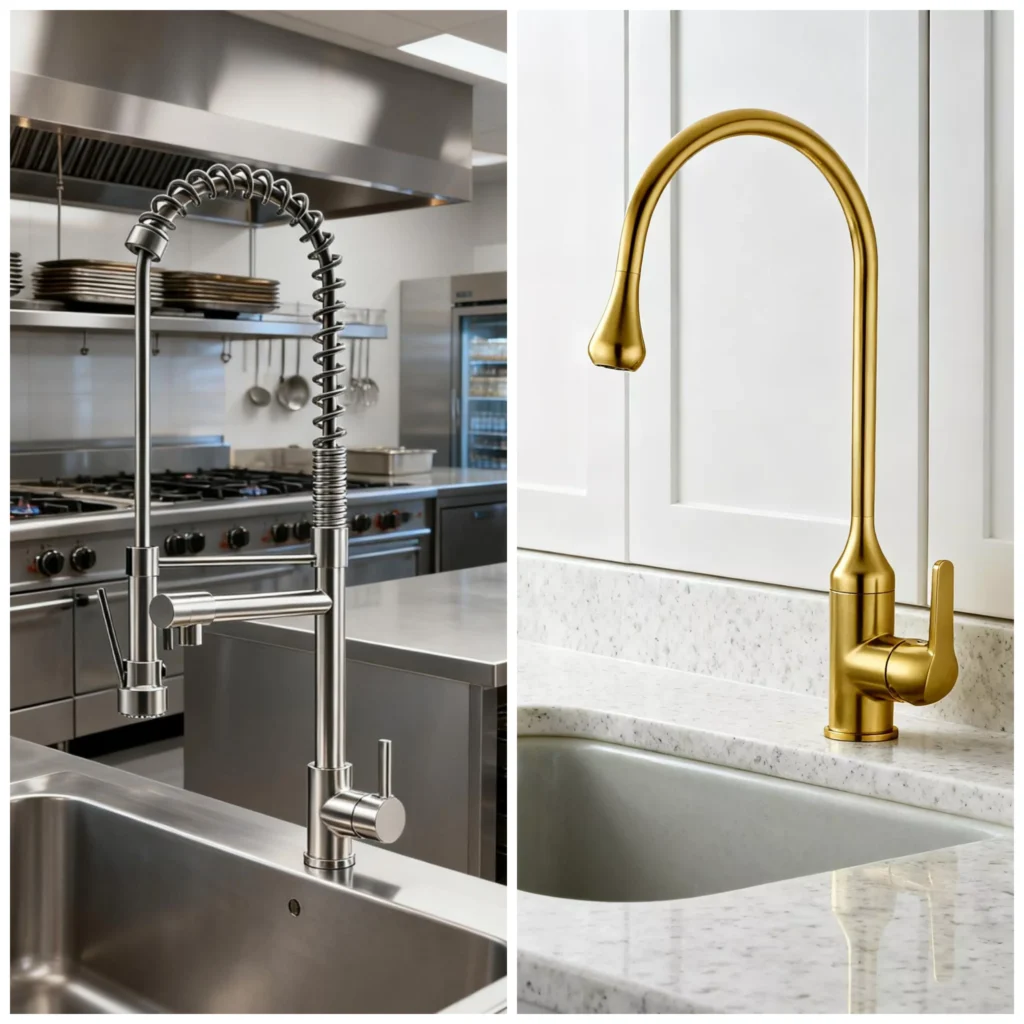
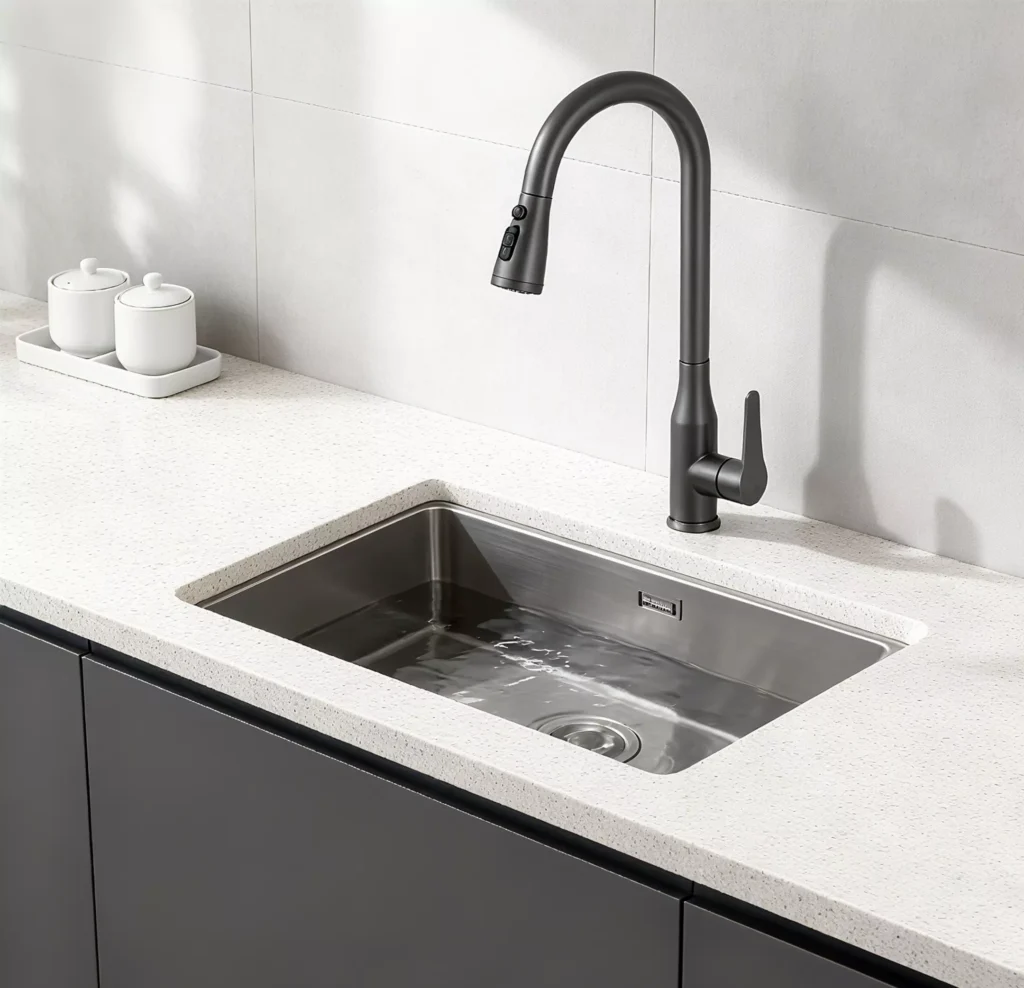
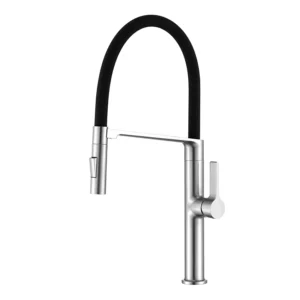
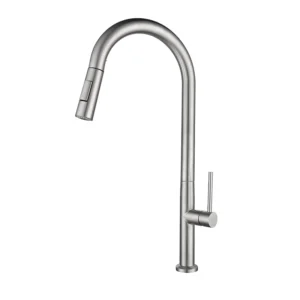
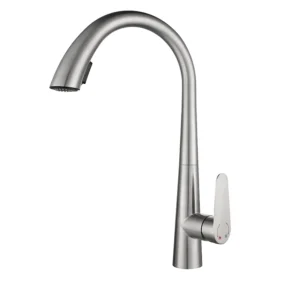
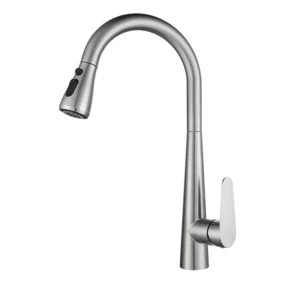
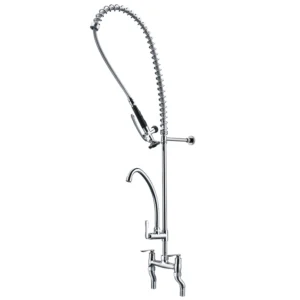
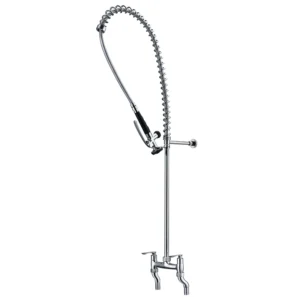
Our kitchen faucets are designed for both performance and style. Whether you’re renovating a home kitchen or outfitting a commercial space, our faucets deliver superior functionality. Featuring pull-down sprayers and easy installation, these faucets combine practical features with modern aesthetics.
The Future of Water Control: Landonbath Kitchen Solutions
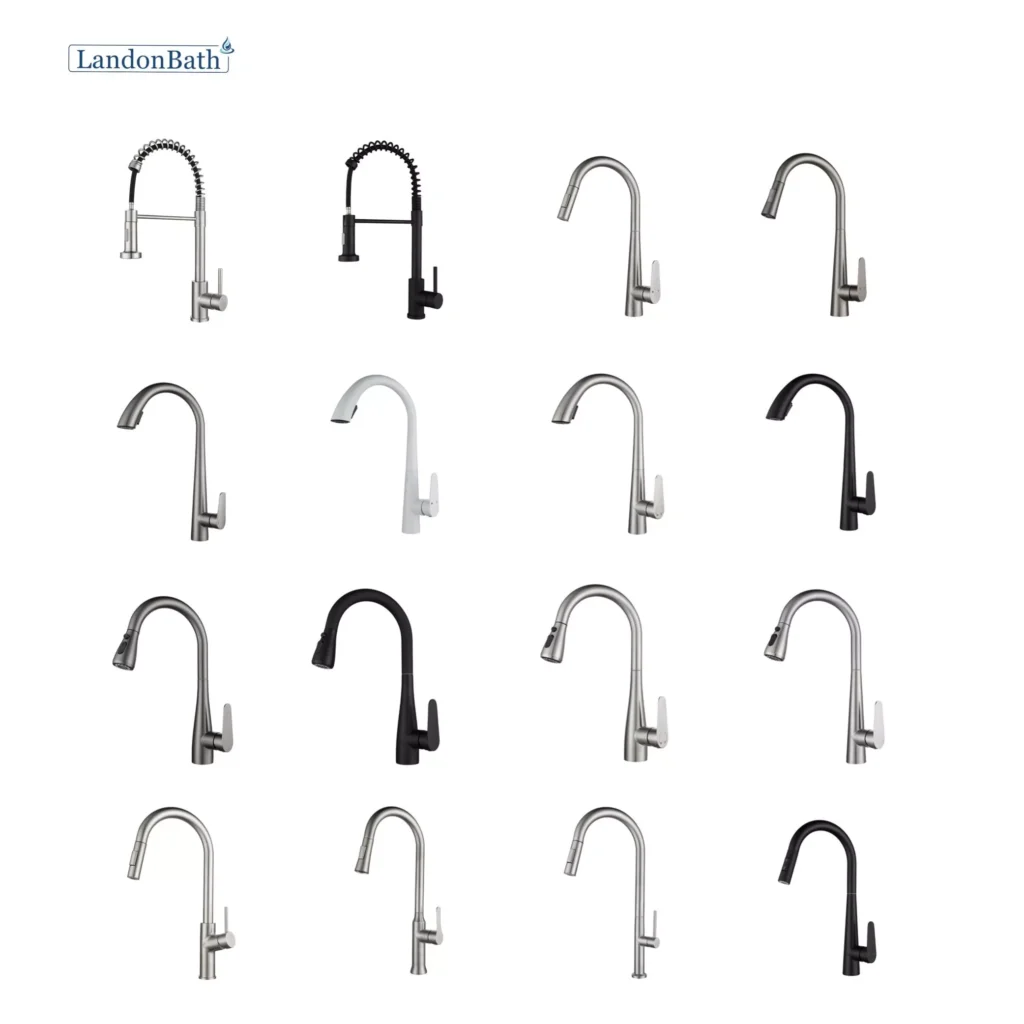
Versatile Design Options
-Have an excellent sales team to ensure customers to get first response on products and company information.
Professional R&D Team
-Lorem ipsum dolor sit amet, consectetur adipiscing elit. Ut elit tellus, luctus nec ullamcorper mattis, pulvinar dapibus leo.
Various Certification
-cUPC, WATERMARK, CE, ACS to cater different oversea markets.
Surface Treatment
-Products surface can pass Acid Salt Spray Testing and Neutral Salt Spray Testing.
Quality Guarantee
-Up to 5 years warranty by Landonbath provide you a long certainty.
Values
-It is Landonbath endeavor to become your outstanding global faucets solutions partner since 1993.
Installation Instructions for Kitchen Faucet
Kitchen Faucet
Step 1: Preparation
Turn off the water supply at the shut-off valves under your sink.
Remove the old faucet if replacing one, cleaning the sink area thoroughly.
Step 2: Attach the Faucet Base
Insert the faucet base into the mounting hole of the sink. Ensure that the faucet is aligned properly before securing it.
If your faucet has a gasket or rubber seal, place it on the base before installation to prevent leaks.
Step 3: Connect Water Supply Lines
Attach the hot and cold water supply lines to the faucet’s respective inlet ports. Tighten them securely using an adjustable wrench, but be careful not to overtighten.
Use pipe tape on the threads for a tighter seal (optional).
Step 4: Install the Pull-Down Sprayer (If Applicable)
For models with a pull-down sprayer, insert the hose through the faucet body and connect it to the sprayer port under the sink.
Ensure the hose moves freely and does not kink.
Step 5: Attach the Handle
If your faucet has a separate handle, attach it to the faucet body. Secure the handle using the included screw, making sure it operates smoothly.
Step 6: Secure the Faucet
From under the sink, tighten the mounting nut onto the faucet base using a wrench. This will secure the faucet to the sink.
Step 7: Check for Leaks
Turn on the water supply and test the faucet by running both hot and cold water. Check all connections for any signs of leaks.
Adjust the connections if necessary to prevent any dripping.
Step 8: Final Adjustments
If your faucet has a sprayer, ensure the hose retracts smoothly. Adjust any components as needed to ensure ease of use.